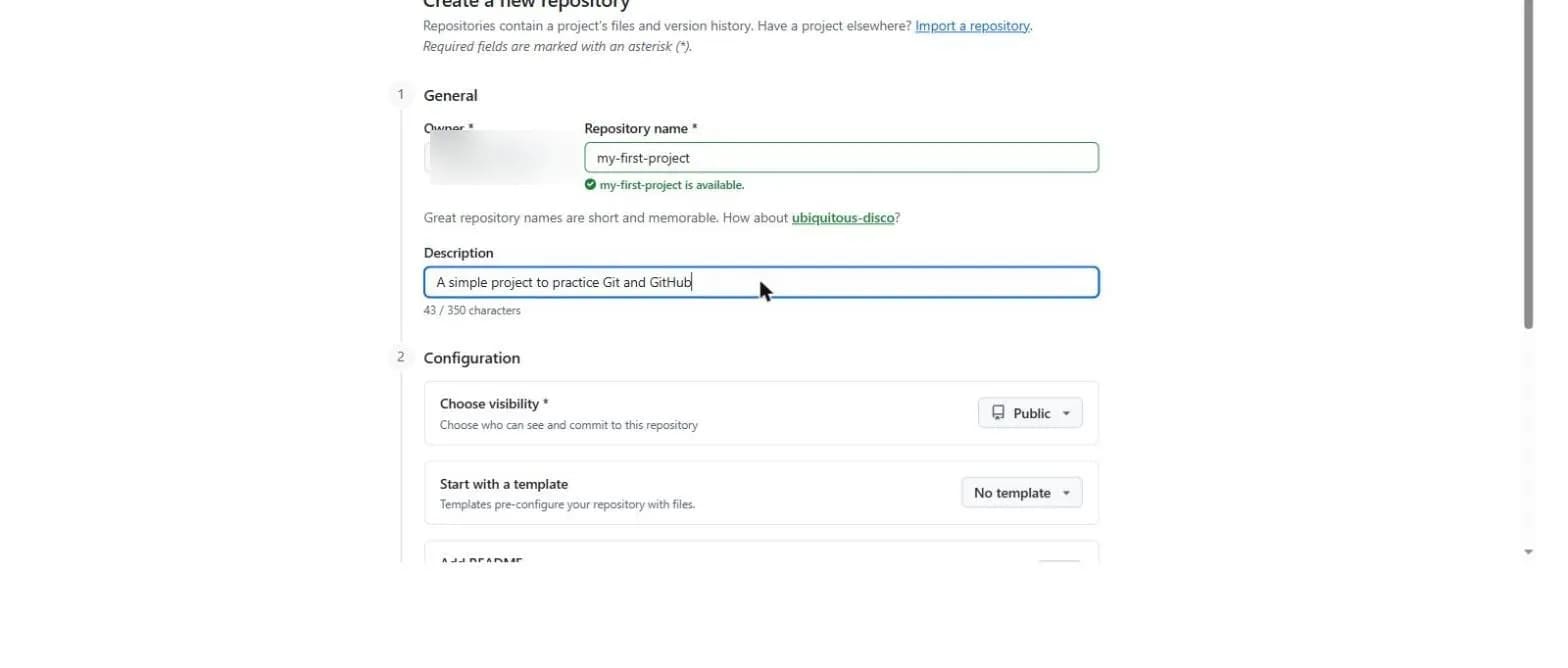
Starting a repository on GitHub itself — rather than pushing a local one up, as the previous lesson covered — is the more common starting point for a brand-new project.
From the "+" menu at the top of any GitHub page, or the green "New" button on the repositories tab.
| Field | What it does |
|---|---|
| Repository name | Becomes part of the repo's URL — lowercase-with-dashes is the near-universal convention |
| Description | Shows under the repo name everywhere it's listed — worth writing even if optional |
| Public / Private | Covered in the Introduction to GitHub lesson |
| Add a README file | Creates a starter README.md immediately — usually worth checking |
| Add .gitignore | GitHub offers a pre-built template for dozens of languages/frameworks — a fast start on the earlier .gitignore lesson's file |
| Choose a license | Only matters for a public repo meant to be reused by others — MIT is the common, permissive default |
git clone https://github.com/username/new-repo-name.git
cd new-repo-name
# Start working — the README/gitignore/license chosen above are already there
The fast path vs. the from-scratch path
Checking "Add a README" and picking a .gitignore template when creating a repo through GitHub's own form saves the manual setup work the earlier lessons in this course did by hand — both approaches end up in the same place.