

You need somewhere for MongoDB to actually run before any of the commands in this course do anything. There are two practical routes, and most learners are better off starting with the second one.
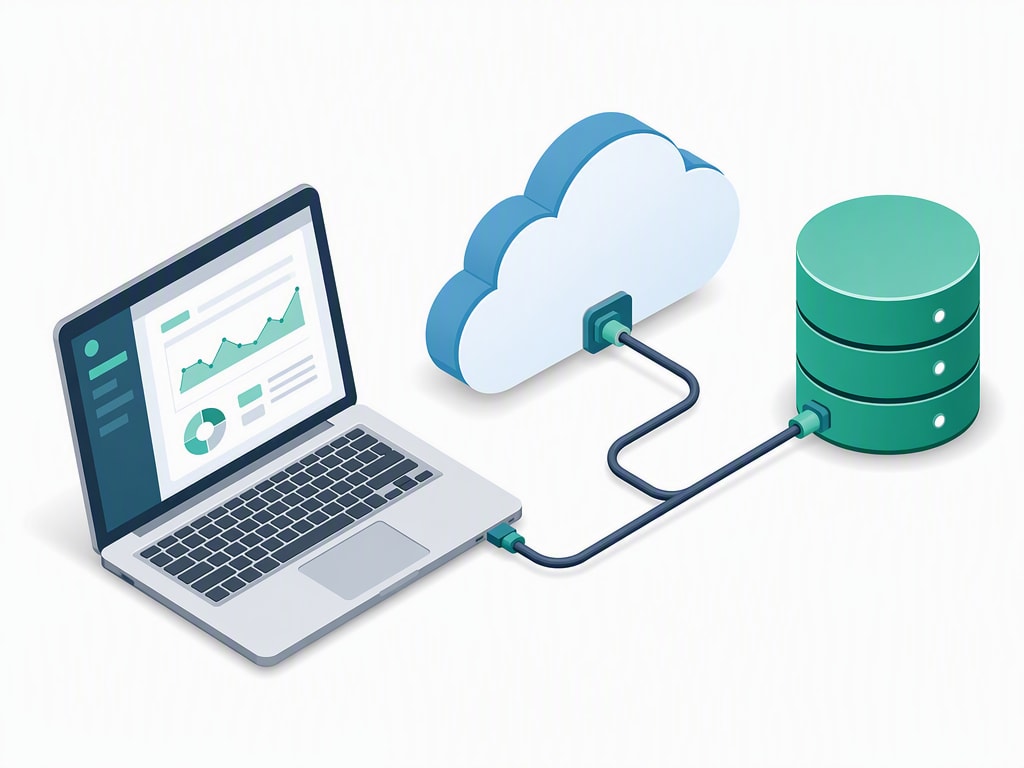
MongoDB Atlas is MongoDB's own official cloud hosting service, with a free tier ("M0") that is more than enough for learning and small projects. Nothing installs on your computer.
| Step | What you do |
|---|---|
| 1 | Create a free account at mongodb.com/cloud/atlas |
| 2 | Create a free M0 cluster (pick a region close to you) |
| 3 | Under Database Access, create a database user with a password |
| 4 | Under Network Access, allow your current IP address (or 0.0.0.0/0 while learning) |
| 5 | Click Connect → Drivers, and copy the connection string |
The connection string looks like this — you will use it throughout this course, including from Node.js later:
mongodb+srv://<username>:<password>@cluster0.xxxxx.mongodb.net/If you would rather run MongoDB on your own machine, download MongoDB Community Server from mongodb.com for your operating system, then also install mongosh, the command-line shell used to talk to it (covered in the next lesson). A local install connects with a simpler connection string:
mongodb://localhost:27017Alongside the shell, MongoDB Compass is a free desktop GUI for browsing databases, collections, and documents without typing commands. It is optional — everything in this course works from the command line — but useful for visually inspecting data while learning.
This course assumes Atlas by default
This course's examples assume Atlas, since it needs no local install and matches what most teams actually use in production. Everywhere you see a connection string, substitute your own Atlas string if you went that route.